FixForge › Vintage › Singer Rust Removal
Vintage Singer Sewing Machine Rust Removal
Pre-1960s Singer machines (15, 66, 99, 201, 221 Featherweight, 301) were built to outlast the owner and most still can. The thing that kills them in storage isn't wear — it's rust on moving parts and corrosion behind the faceplate. Treated properly, a rust-locked Singer becomes a fully functional machine again in an afternoon.
Last Updated: May 2026
Fast answer for someone with a project Singer
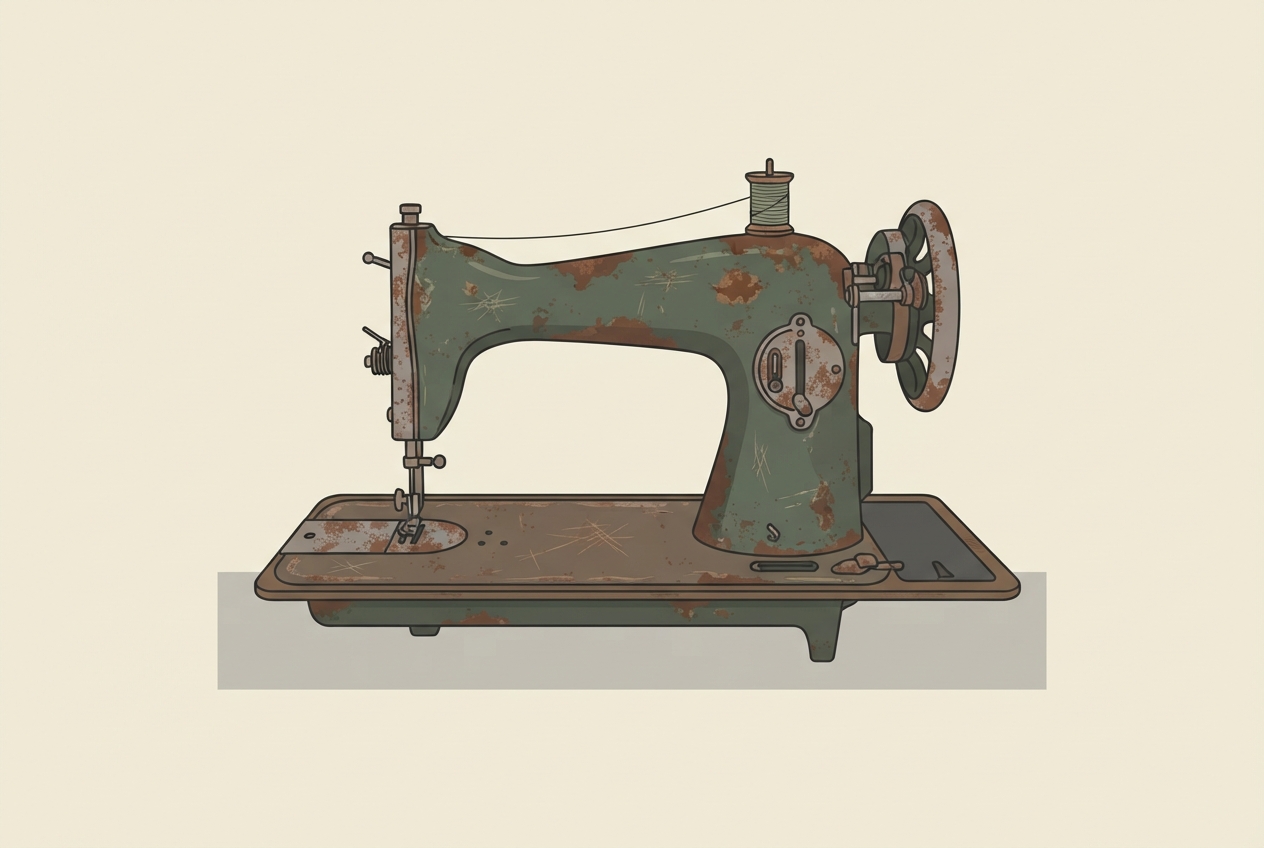
Don't use sandpaper, steel wool, wire wheels, or CLR. They'll destroy the gold decals and ruin the value. Use Evapo-Rust for both surface and deep rust — chelating agent, decal-safe when applied carefully, removes oxide without attacking base metal. Disassemble the bobbin assembly, hook, faceplate, and slide plates. Soak rusted parts overnight in Evapo-Rust. For the cast-iron head itself, apply Evapo-Rust with a cotton swab to rusted spots only, avoiding decals. Rinse, dry thoroughly, oil all moving parts with sewing machine oil (NOT WD-40), and reassemble. Expect 3-6 hours total for a thorough job.
Gold-leaf decals lift with rough handling. Brush, don't scrub.
Chelating, decal-safe, reusable. Worth the cost over abrasives.
Singer oil or "Lily White". Never WD-40, never 3-in-1, never household oils.
Bobbin, hook, plates. Skip upper tension unless experienced.
Why vintage Singers are worth restoring
The Singer 201, 66, 99, and 15-class machines from the 1930s through 1950s were the company's mechanical peak: all-metal construction, hardened steel gears, precision-cast iron bodies, and assembly tolerances that modern machines simply don't match. A well-restored 201 will outsew most $1000-2000 modern machines on heavy fabrics, and the Featherweight 221 remains the go-to quilting machine for serious quilters precisely because of its build quality.
The combination of mechanical excellence plus deferred maintenance is why so many of these machines end up in basements, attics, and estate sales with surface rust. The good news: rust is almost always reversible without harming the underlying metal. The bad news: ham-handed rust removal destroys the gold decals that make these machines collectible, dropping value by 40-70%.
The disassembly — what to remove, what to leave alone
Strip the machine to the cast-iron head plus connected mechanism. Specifically:
- Remove and treat separately: bobbin case, hook assembly, throat plate, slide plate, bed slide plate (the long plate that covers the feed dogs and stitch length lever), faceplate (the small plate on the left end covering the take-up lever).
- Leave on the machine: the head itself (cast body with decals), the bed (the iron plate the head sits on), the handwheel, the motor (if electric), the take-up mechanism. These get spot-treated in place, not soaked.
- Don't touch unless experienced: the upper tension assembly (small knurled discs and a calibrated spring on top of the machine), the bobbin winder mechanism if it's complex (Singer used several designs over the years), the stitch length regulator if it's stuck.
Singer made parts replaceable by design, so disassembly is methodical — screws back off, components come off in a specific order, and reassembly is the reverse. Take photos of every step. The bobbin case in particular has a small spring with three correct orientations and one incorrect one that will plague you for weeks.
The chemistry: why Evapo-Rust works
Iron oxide (rust) is a different molecular structure than iron metal. Most rust removers work by either physically abrading the oxide off (steel wool, sandpaper) or by chemically reducing it back to iron (acids, electrolysis). Both methods have side effects: abrasion damages finish, and acids attack everything — rust, paint, decals, plating, and base metal.
Evapo-Rust uses a third mechanism: chelation. The chelating agents in the solution bind to iron oxide ions and pull them off the surface. The base iron metal is untouched, and the chelators don't bind to organic finishes like decals or to plating like the nickel or chrome on certain parts. The result is selective oxide removal with very low collateral damage — the closest thing to a "smart rust remover" the chemistry industry has produced.
It's also reusable. A gallon of Evapo-Rust treats many machines worth of parts before exhausting. Pour the used solution back into the container after each batch and the chelators continue working until they're saturated.
The procedure
- Disassemble the removable parts per the list above. Lay them out on a towel in the order you removed them. Photograph each step.
- Brush off any loose dirt and old oil residue with a soft brush. Don't use solvents that might damage decals at this stage; just brush.
- Soak the disassembled parts in Evapo-Rust. Use a glass or plastic container (Evapo-Rust attacks aluminum — don't use aluminum containers). Cover the parts fully. Soak time depends on rust severity: 30 minutes for light surface rust, 2-4 hours for moderate rust, overnight for heavy rust.
- For the cast-iron head and bed, spot-treat with cotton swabs. Dip a swab in Evapo-Rust and apply to rusted spots only. Avoid the decals entirely. After 15-30 seconds, wipe the spot with a clean dry cloth. Repeat for stubborn areas, but never let Evapo-Rust pool against decals or sit on painted areas for extended periods.
- Rinse all soaked parts thoroughly in warm water. Evapo-Rust residue must be removed completely; any residue will encourage flash rust as the part dries.
- Dry immediately and thoroughly. Use compressed air if available, otherwise clean lint-free cloths. Wet iron parts flash-rust within minutes — this is the most common amateur mistake.
- Oil all metal-to-metal contact surfaces with sewing machine oil. Singer's own oil, "Lily White" oil, or any modern sewing machine oil designed for precision mechanisms. Avoid WD-40 (it's a solvent, not a lubricant, and evaporates), 3-in-1 oil (too heavy, attracts dust), and household oils (often contain detergents that degrade leather and rubber components).
- Reassemble in reverse order. Reference your photos. The bobbin case spring orientation is critical — if the machine won't pick up the bobbin thread after reassembly, the spring is in the wrong position 90% of the time.
- Hand-cycle the machine multiple times before plugging in any motor. Turn the handwheel manually. Listen for binding. Watch the needle bar, feed dogs, and bobbin case engagement. Everything should move smoothly.
- Test stitch on scrap fabric. If stitches are forming correctly, the restoration is functionally complete. Cosmetic touch-up of decals or finish is a separate project.
2026 cost reference
| Item | Typical 2026 cost | Notes |
|---|---|---|
| Evapo-Rust (1 gallon) | $26-42 | Reusable across several machines. Best single supply purchase. |
| Sewing machine oil (Singer or Lily White, 4-8 oz) | $8-16 | Lasts indefinitely. Stays clean. Doesn't gum up over time. |
| Bronze wool (4-pad pack) | $10-16 | For spot mechanical removal where chemical doesn't reach. Gentler than steel wool. |
| Cotton swabs (bulk) | $3-8 | For decal-safe targeted application. |
| Replacement bobbin case (if original is unsalvageable) | $15-40 | Class 15, 66, 201, and Featherweight cases all available aftermarket. |
| Replacement needle plate / throat plate | $20-55 | Specific to machine model. Numbered parts. |
| Professional service / restoration | $200-600 | What you avoid by doing this yourself. Quality varies widely by shop. |
When to stop and get help
Three signs DIY restoration isn't going to work. First: the machine doesn't turn over at all by hand even after disassembly and oiling. That usually means broken internal parts (snapped take-up arm, broken cam, frozen needle bar shaft) that require specialist disassembly. Second: the upper tension assembly is so corroded or seized that you can't dial through the calibration range. Tension reassembly is precise and easy to do wrong. Third: any cracked casting in the head or bed. Cast iron repair by welding rarely works; usually the only fix is finding a donor machine and transferring the salvageable components.
For the 90% of vintage Singer rust problems that aren't in those categories, the DIY restoration above will produce results equivalent to or better than most restoration shops — for a fraction of the cost.