FixForge › RV › Water Heater Anode Replacement
RV Water Heater Anode Rod Replacement
If you have a Suburban water heater, the anode rod is what keeps the tank from corroding from the inside out. It's a $15 part that prevents a $700 repair. The replacement is a 20-minute job with a single socket. The catch: only Suburban tanks need one. Atwood tanks don't, and installing an anode in an Atwood will create new problems.
Last Updated: May 2026
Fast answer for the weekend before a trip
Step one: find your water heater's brand label on the inside of the access door. Suburban = steel tank, needs anode. Atwood or Dometic = aluminum tank, does NOT use anode (uses a plastic drain plug instead). If Suburban, you need a 1-1/16 inch socket, a fresh anode rod ($12-25), and pipe thread tape. Drain the tank, swap the rod, refill, and check for leaks. Total time about 20-30 minutes.
Suburban needs anode. Atwood/Dometic does not. Get this wrong and you damage the tank.
Or 27mm. Standard 1/2-inch drive with breaker bar. No impact wrench.
Drain fully and let it cool. Hot water under pressure is dangerous and unnecessary.
4-6 wraps of PTFE tape on the new rod's threads before installing.
Why this matters and why owners skip it
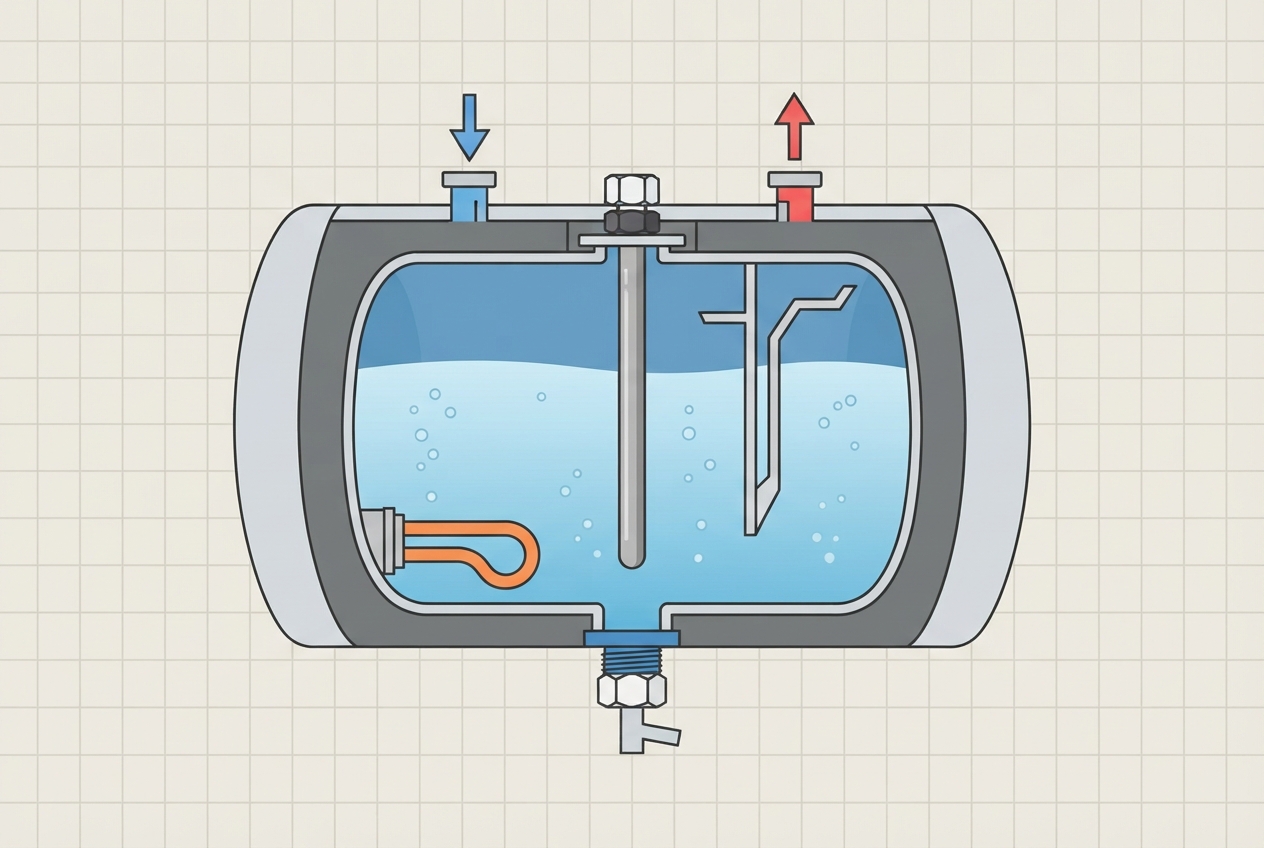
An anode rod is a piece of magnesium or aluminum (sometimes zinc) that screws into the bottom or side of a steel water heater tank. When water inside the tank corrodes anything, the anode is what corrodes first — sacrificial protection. The chemistry is simple and effective: the anode is more electrochemically reactive than the steel tank, so water-borne ions attack the rod and leave the tank intact.
Once the rod is gone, the protection is gone, and the tank itself starts corroding. The first sign is usually rust-colored hot water. The second sign is a slow leak from the tank seam. By the time you see either, the tank is past saving and needs replacement — a service-center job that runs $400-900 in parts and labor.
This is the single highest-leverage preventive maintenance task on a Suburban-equipped RV. It's also the most commonly skipped because owners either don't know they have one, or they know but assume their water heater is the no-anode Atwood type. The brand check takes ten seconds and prevents a four-figure mistake.
How to know what brand you have
Open the exterior water heater access door (typically a small hinged panel on the side of the RV). Inside, look for a metal nameplate or sticker on the back wall of the water heater body. It will say Suburban, Atwood, or Dometic (Atwood and Dometic are now the same company — Dometic acquired the brand). The Suburban label is usually grey with green text. The Atwood label is usually white with blue text.
A faster shortcut: look for the drain plug location. Suburban has a threaded port on the lower-front of the tank, typically 1-1/16 inch. Atwood has a plastic drain plug, smaller (usually 5/8 or 3/4 inch) and clearly plastic rather than metal. If the plug is plastic, you don't have an anode and you don't need one.
The replacement procedure
- Turn off the water heater electric and propane. Both should be off before any maintenance. If you have a hybrid heater, turn off both sources.
- Turn off the water pump and disconnect any city water connection. No incoming pressure during this job.
- Open a hot water faucet inside the RV. This breaks vacuum and lets the tank drain freely.
- Let the tank cool. If you've been running hot water recently, wait 30-60 minutes. Scalding water under pressure is the only way this job gets dangerous.
- Position a hose or bucket below the anode/drain plug. The tank holds 6-12 gallons depending on model. Direct the discharge away from finished surfaces.
- Use a 1-1/16 inch socket with a breaker bar to loosen the anode rod. Counterclockwise to remove. The first quarter-turn may resist; apply steady pressure. Once it breaks free, you can hand-spin the rest of the way out. As the rod clears the threads, water will start flowing — expect a steady stream until the tank empties.
- Inspect the old rod. If less than 25% of the original magnesium/aluminum remains, replacement is correct. If more than 75% remains, you can reinstall the same rod for now (rare on annual checks; common on first-year checks).
- Flush the tank. While the rod is out and the tank is draining, take the opportunity to flush. Either run a tank rinser wand through the anode port (Camco makes a specific tank flush wand for this), or simply turn on the cold water inlet briefly to push sediment out the open port. Sediment that comes out as gravel-sized chunks is normal and means you're catching it before it becomes a heating problem.
- Wrap the new anode rod's threads with 4-6 turns of PTFE thread tape. Wrap clockwise (when looking at the threads) so the tape tightens rather than unwinds as you install.
- Install the new rod by hand, then snug with the socket. Tight, but not heroic — about the same torque as a car oil drain plug. Over-tightening can crack the porcelain liner or strip the tank threads.
- Close any open faucets, restore city water or pump pressure, and let the tank refill. Once water flows steadily from the open hot faucet (meaning the tank is full and air has purged), close that faucet.
- Check for leaks at the anode threads. Wipe the area dry. If you see weeping after 5 minutes, the rod needs a half-turn tighter or the tape job needs redoing.
- Restore power to the water heater and resume normal use.
2026 cost reference
| Item | Typical 2026 cost | Notes |
|---|---|---|
| Magnesium anode rod (Suburban) | $12-22 | Standard for soft and moderate water. Best protection per dollar. |
| Aluminum anode rod (Suburban) | $15-28 | Lasts longer in hard water but offers slightly less protection per pound. |
| Zinc-aluminum anode rod (Suburban) | $22-38 | Use if you smell sulfur (rotten egg) in hot water — reduces hydrogen sulfide. |
| 1-1/16 inch socket (1/2 drive) | $8-15 | One-time tool purchase. Lifetime usability. |
| PTFE thread seal tape (1 roll) | $2-4 | Lasts dozens of jobs. |
| RV tank flush wand (anode port adapter) | $8-18 | Optional but useful for flushing sediment during the swap. |
| Service-center anode replacement | $90-180 total | Most charge $60-120 labor on top of the part. |
| Replacement water heater tank (when prevention fails) | $400-900 | Service-center job. Includes new tank, gaskets, install labor. |
The mistake to avoid: installing an anode in an Atwood
If you have an Atwood (or Dometic-branded Atwood) water heater and an enthusiastic neighbor or YouTube comment tells you to install an anode rod for "extra protection," ignore them. Atwood tanks are aluminum with porcelain lining. Installing a magnesium or aluminum anode in an aluminum tank creates galvanic action that will corrode the rod rapidly — sometimes within weeks — and the corrosion byproducts will plug the discharge port and damage the tank threads. The plastic drain plug Atwood specifies isn't a cost-cutting measure; it's the chemically correct choice for an aluminum tank.
If your Atwood currently has an anode installed (because a previous owner or technician installed one in error), remove it and replace with the proper plastic drain plug. The damage so far is probably minimal if caught early.
When to stop and call a pro
Three scenarios. First: stripped tank threads, where the new rod will no longer seal even with fresh tape. Repair requires a thread chaser or in worst cases a Heli-Coil insert — doable DIY but mistakes can ruin the tank entirely. Second: visible cracks in the tank itself, usually spotted when sediment flushes out of the anode port. Third: persistent leaks after correct anode installation and tightening. These typically mean the tank gasket or seam has failed elsewhere, which requires tank removal.
Magnesium. Atwood/Dometic models don't use one.
Check Price on Amazon →As an Amazon Associate, FixForge earns from qualifying purchases.